
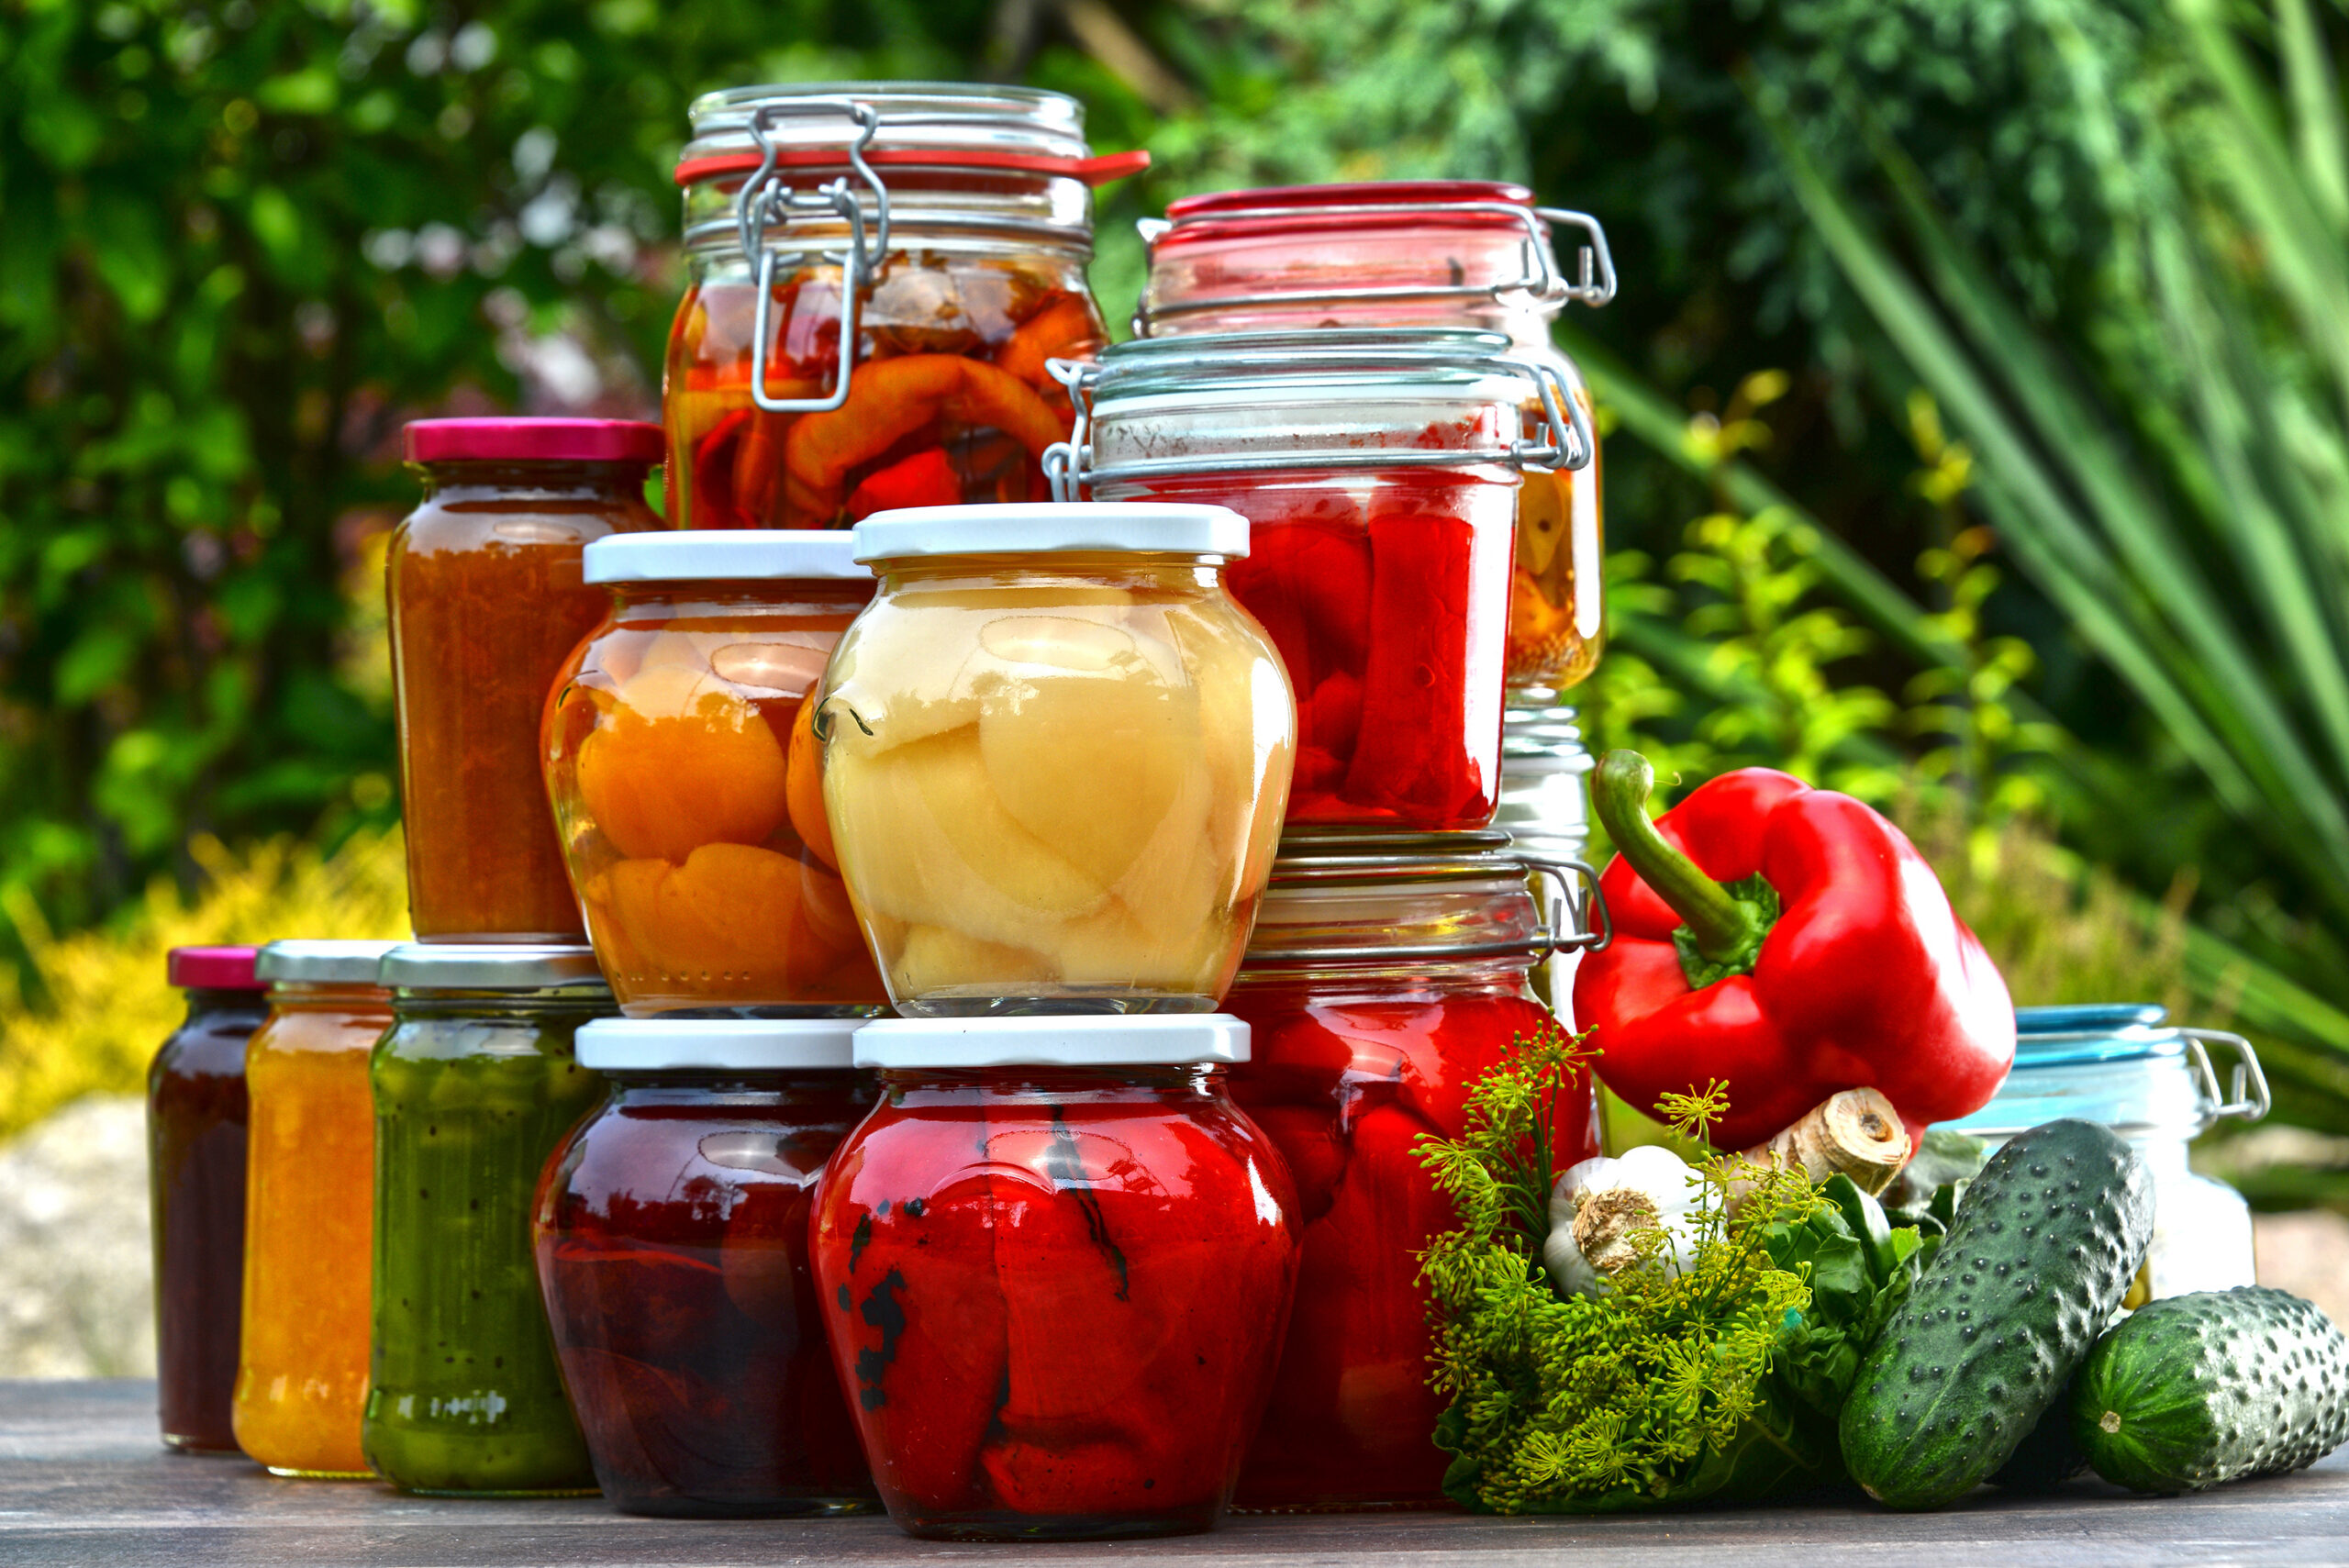
There’s nothing like the taste of a sun-warmed tomato picked straight from the vine or the crunch of a just-pulled carrot. At FamiLee Fields, we live for those moments of peak freshness. But what happens when your u-pick haul overflows your basket, or your garden produces more zucchini than your family can eat in a week? That’s where preserving comes in. Preserving isn’t just a way to reduce waste—it’s a powerful tool for extending the joy of local food year-round.
In this post, we’ll explore tried-and-true methods for preserving fresh produce at home. These aren’t industrial techniques or overly complicated systems—just simple, effective practices you can do in your own kitchen with confidence. Whether you’re a first-time preserver or someone looking to deepen your food storage skills, we’ve got you covered.
Why Preserve?
Preserving food is more than just a pantry-filling tradition. It’s a way to:
- Save money by avoiding out-of-season produce.
- Minimize food waste from garden or u-pick abundance.
- Gain food security and reduce dependence on grocery supply chains.
- Keep a connection to the land and the seasons.
- Experience the satisfaction of “slow food” — prepared with care, enjoyed with intention.
When you preserve food you’ve picked yourself (or bought locally from farms like ours), you deepen your relationship with what you eat. That’s the kind of nourishment we believe in at FamiLee Fields.
Method 1: Canning (Water Bath & Pressure Canning)
What It Is
Canning involves heating jars of food to a high temperature to destroy microbes and seal them airtight for long-term storage. There are two main types:
- Water Bath Canning: Best for acidic foods like tomatoes, pickles, jams, and jellies.
- Pressure Canning: Required for low-acid foods like green beans, carrots, and meats.
What You Need
- Mason jars with lids and rings
- Large pot (water bath) or pressure canner
- Canning funnel, jar lifter, clean cloths
Tips for Success
- Always start with clean, sterilized jars.
- Use tested recipes to ensure safety (the USDA and Ball Blue Book are good resources).
- Label with the date and contents before storing.
Our Farm Favorite: Tomato sauce from u-pick heirloom tomatoes. Add a few cloves of garlic and basil, and summer is just a twist away.
Method 2: Freezing
What It Is
Freezing is one of the easiest ways to preserve fresh produce. It retains most nutrients and flavor, especially when food is blanched beforehand to stop enzyme activity.
What You Need
- Freezer-safe containers or bags
- A large pot for blanching
- Ice water bath
- A permanent marker for labeling
Tips for Success
- Freeze fruits in a single layer on a baking sheet before transferring to bags to prevent sticking.
- Blanch vegetables for 1–3 minutes depending on type, then plunge into ice water.
- Label everything with the name and date — trust us, six months from now you’ll be glad you did.
Best Crops to Freeze: Berries, peas, corn (off the cob), zucchini (grated), green beans.
Method 3: Dehydrating
What It Is
Dehydrating removes moisture from food to prevent spoilage. The result? Lightweight, shelf-stable snacks and ingredients that pack big flavor.
What You Need
- Food dehydrator (or oven set to low with door cracked)
- Airtight jars or vacuum-sealed bags
- Clean produce sliced thin and evenly
Tips for Success
- Keep humidity low during drying.
- Store dehydrated items in a cool, dark space.
- Check for dryness: fully dehydrated food should snap or crumble, not bend.
Creative Ideas
- Apple chips with cinnamon
- Dried cherry tomatoes for soups and pastas
- Zucchini crisps with a little sea salt
Method 4: Fermentation
What It Is
Fermenting uses beneficial bacteria to preserve food while boosting gut health. It’s ancient, flavorful, and surprisingly easy.
What You Need
- Mason jars or fermentation crocks
- Salt (non-iodized)
- Fresh, clean vegetables
- A weight to keep produce submerged
Tips for Success
- Start with something simple, like sauerkraut or fermented carrots.
- Use clean tools and hands.
- Keep jars in a cool, dark place and burp daily during the active fermentation stage.
Why We Love It
Fermented foods don’t just last—they become something new and deeply nourishing. Plus, they bring your harvest to life in a whole new way.
Bonus Method: Root Cellaring
If you have a cool basement, garage, or root cellar, many vegetables can be stored for months with minimal prep. This includes:
- Potatoes
- Carrots
- Beets
- Winter squash
- Onions and garlic
Just make sure to cure root veggies properly and store them in ventilated containers away from sunlight.
Storage Tips to Remember
- If you have a cool basement, garage, or root cellar, many vegetables can be stored for months with minimal prep. This includes:
- Potatoes
- Carrots
- Beets
- Winter squash
- Onions and garlic Just make sure to cure root veggies properly and store in ventilated containers away from sunlight.
- Use glass jars, food-safe plastics, or vacuum sealing to extend life.
- Rotate stock regularly: first in, first out.
- Keep a log if you’re storing large quantities—inventory saves time and prevents waste.
What We Offer at FamiLee Fields When you visit us during the growing season, you’ll have the opportunity to:
- Pick bulk produce at peak ripeness
- Ask questions about what preserves best and how
- Grab a printout or blog list of simple preservation ideas
And soon, we hope to offer workshops and seasonal guides for putting food up like a pro. Because here at FamiLee Fields, education is just as important as the harvest.
Conclusion: Preserve with Purpose
Preserving food isn’t just about storing calories. It’s about honoring the work that went into growing it, reducing waste, and savoring the seasons long after they’ve passed. With a few basic tools and a little know-how, you can enjoy your FamiLee Fields produce well into winter.
By learning how to preserve your food, you’re becoming part of a long-standing tradition that values flavor, frugality, and food with a story. And when that story starts with local soil and ends in your home, it’s always worth telling.